A Complete Guide to Using an Electric Tile Vibrating Machine for Optimum Tile Installation
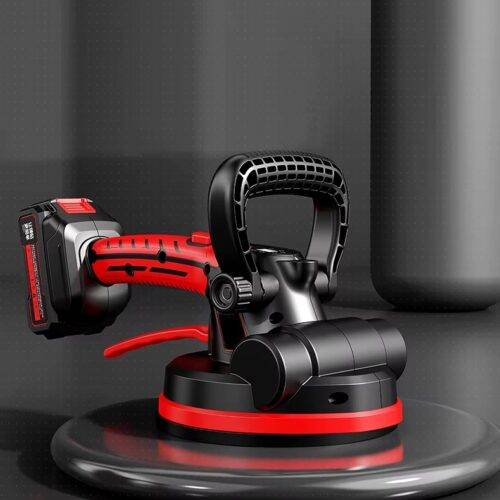
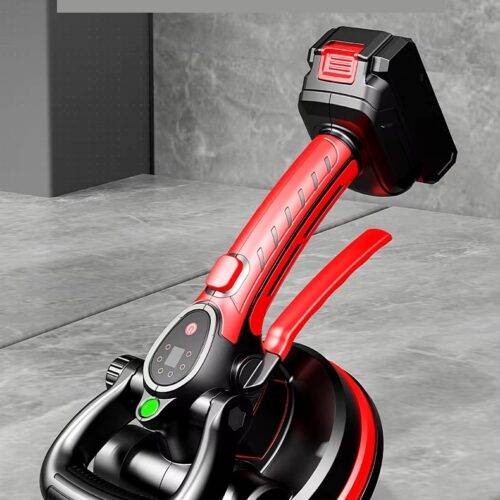
Tile Vibrator with 15000mAh Battery and 6 Adjustable Gears
(Image credit – Stone Tech Tools)
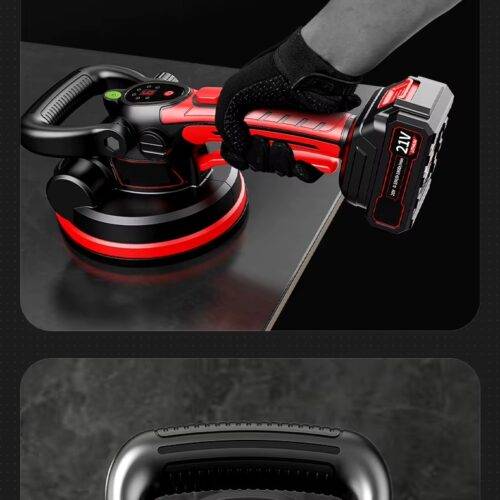
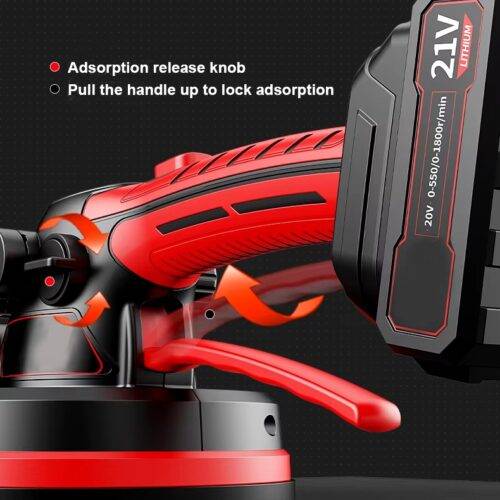
The STI Tile Vibrator is an advanced tool designed for efficient tile installation, ensuring that tiles are securely bonded to the surface with minimal effort. Its key features include a 15000mAh battery that provides extended operational time, making it suitable for large projects without frequent recharging. The 21V voltage delivers ample power, ensuring the motor runs smoothly and consistently.
Key Features
- Battery Capacity: 15000mAh
- Voltage: 21V
- Vibration Frequency: 23,000 vibrations per minute (r/min)
- Weight: 2.5 kg
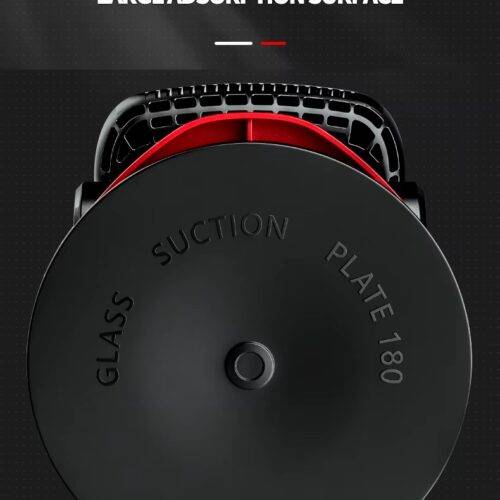
- Suction Cup Diameter: 18 cm
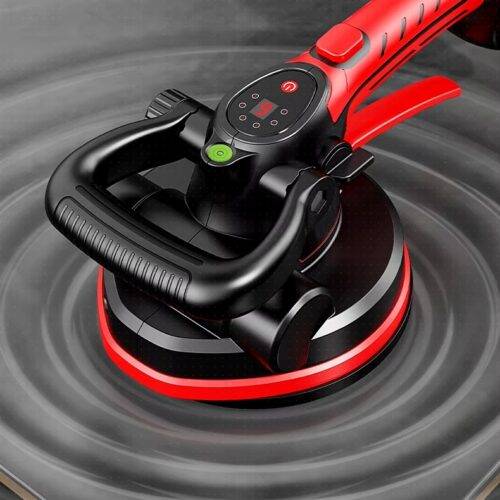
- Adjustable Gears: 6 levels for precise vibration control
Efficient Tile Installation
With a vibration frequency of 23,000 r/min, the STI Tile Vibrator ensures even and thorough tile placement, helping to eliminate air pockets beneath tiles. Its lightweight design of 2.5 kg makes it easy to handle for prolonged periods, ensuring a smooth and effortless tile installation experience.
Precision Control
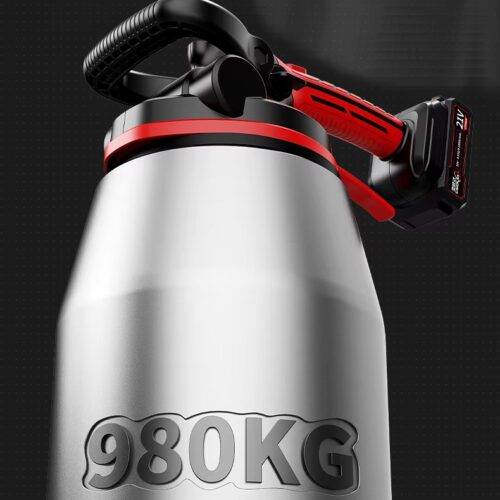
The 18 cm suction cup provides strong adhesion to tiles, while the 6 adjustable gears allow you to control the intensity of the vibration. This enables you to adapt the tool to different tile sizes and installation conditions, making it ideal for both professional tilers and DIY enthusiasts.
Conclusion
The STI Tile Vibrator is a powerful and versatile tool perfect for professional tilers and DIY enthusiasts. Its high-performance battery, strong suction cup, and adjustable gears ensure that tiles are placed accurately and securely for long-lasting installations.
Master Precision Tile Installation with the 6-Speed Electric Floor Laying Machine – A Complete Guide
Why Use an Electric Tile Vibrating Machine?
The primary function of an electric tile vibrating machine is to ensure proper adhesion between the tile and the mortar. The tool uses vibration to remove air bubbles from the mortar and helps the tile settle evenly, preventing weak spots that could lead to cracking or shifting. Here’s why it’s invaluable:
- Reduced Air Pockets: The vibrating function removes air trapped under the tile, ensuring uniform adhesion. For more on the importance of air pocket removal, check out Tile Magazine.
- Precise Tile Placement: Helps align tiles perfectly, avoiding uneven surfaces.
- Stronger Bonding: Improves the bond between the tile and mortar, leading to long-lasting installation.
- Saves Time: Speeds up the installation process, making it perfect for large projects.
2. Prepping for the Installation
Before you start using your electric tile vibrating machine, preparation is key to achieving the best results.
- Prepare the Surface: Ensure the floor or wall where you’re installing the tiles is clean, flat, and free from debris. Any unevenness or debris could affect the alignment and durability of the tile.
- Mix the Mortar Correctly: Follow the manufacturer’s guidelines for mixing mortar. A proper consistency is crucial for the tiles to adhere well to the surface and hold up during vibration. Refer to The Balance Small Business for tips on mixing mortar.
- Mark Tile Placement: It’s a good idea to use markers or chalk lines to guide where each tile should be placed. This ensures the tiles remain straight and evenly spaced.
3. Setting Up the Electric Tile Vibrator
- Choose the Right Suction Setting: Most electric tile vibrating machines come with adjustable suction cups. Adjust them according to the size of the tile being installed. Suction cups should securely hold the tile without damaging its surface.
- Adjust the Speed: Many machines come with variable speed settings. For larger tiles, a lower vibration speed works better, while smaller tiles may require higher speeds. Experiment on a test tile if possible to find the optimal setting.
- Check Battery Life: If your machine is battery-powered, ensure the battery is fully charged before beginning the installation to avoid interruptions.
4. How to Use the Electric Tile Vibrating Machine
Step-by-Step Process:
- Apply the Mortar:
- Spread the mortar on the surface where the tile will be installed, ensuring an even layer. For larger tiles, using a notched trowel can help distribute the mortar uniformly. You can learn more about mortar application techniques from Home Depot.
- Place the Tile:
- Carefully place the tile over the applied mortar, aligning it with your markings. Ensure that it’s level with the surrounding tiles.
- Attach the Tile Vibrator:
- Place the suction cup of the machine in the center of the tile. Ensure the suction is firm and secure before starting the vibration process.
- Activate the Vibration:
- Turn on the machine and begin vibrating the tile. Move the machine gently over the tile surface in small circular motions. This allows the vibration to eliminate any air pockets between the tile and mortar.
- Tip: Vibrate each tile for 10-15 seconds or until you feel that the tile has properly settled into the mortar. Be careful not to overdo it as this could cause the tile to shift or disrupt the mortar bed.
- Check for Alignment:
- After using the vibrator, check the tile’s alignment and adjust as necessary. Ensure the tile is level and properly spaced before the mortar starts setting.
- Continue the Process:
- Repeat the process for each tile, ensuring a uniform finish across the entire surface.
5. Post-Installation Care
Once the tiles are laid, it’s important to follow up with proper care to ensure durability:
- Clean Excess Mortar: Use a damp sponge to wipe away any excess mortar from the tiles before it hardens.
- Grout Application: Once the tiles have settled and the mortar has dried, apply grout between the tile gaps. Make sure the grout lines are clean and smooth for a professional finish. For more guidance on grouting, see The Tile Council of North America.
- Final Clean-Up: After grouting, clean the tile surface to remove any grout residue, ensuring the tiles look polished and neat.
6. Maintenance Tips for Long-lasting Tile Installations
To ensure your tile vibrating machine works optimally and your tiles remain in good condition, follow these maintenance tips:
- Regular Tool Maintenance: Clean your tile vibrating machine after each use to prevent dust and mortar buildup. Check the suction cups for any signs of wear and replace them if needed.
- Seal the Tiles: Consider sealing the grout and tiles to enhance their longevity, especially in areas prone to moisture. You can find sealant options at Laticrete.
- Regular Inspection: Periodically check for any loose tiles or cracks. Early detection allows for easy repairs, preventing larger issues in the future.
7. Why Air Bubbles Are a Concern
One of the key reasons to use an electric tile vibrating machine is to eliminate air bubbles trapped in the mortar. These air pockets can weaken the bond between the tile and the substrate, leading to issues such as:
- Tile Cracking: Air bubbles create weak spots that make tiles more susceptible to cracking under pressure.
- Moisture Infiltration: Air gaps can allow moisture to seep in, leading to mold growth, warping, and further weakening the adhesive.
- Reduced Tile Life: Poor adhesion can cause tiles to shift or loosen over time, requiring expensive repairs.
By using a tile vibrating machine, you ensure better mortar coverage and a stronger, more durable tile installation.
Conclusion
An electric tile vibrating machine is an essential tool for professional tile installers and DIY enthusiasts alike. Its ability to evenly settle tiles, eliminate air bubbles, and ensure stronger adhesion can drastically improve the quality and longevity of your tile installation. Follow this guide for optimal use and proper care of your machine to guarantee a perfect, durable finish every time.
Ready to make your tile installation easier and more professional? Get the latest electric tile vibrating machines from Stone Tech Tools today for flawless, efficient tile laying.
Tile Vibrator with 15000mAh Battery and 6 Adjustable Gears
(Image credit – Stone Tech Tools)


